Transfer photos wirelessly from Sony cameras
Run FTP server for transferring photos from Sony cameras
_-_by_Henry_Soderlund_(51739988735).avif)
FTP is a protocol I haven’t used for many years. Although I have configured FTP servers like vsftpd or ProFTPD in the past, this time I decided to explore SFTPGo.
![]()
The main reason I wanted to run my own FTP server on my laptop was to transfer photos wirelessly from my Sony A7 IV camera, eliminating the need for cables or SD card swapping.
SFTPGo
Let’s look at how you can run the FTP server on macOS:
Install SFTPGo:
1
brew install sftpgo
Create a test user and set up an admin account:
1
2
3
4
5
6
7
8
9
10
11
12
13
14
15
16
17
18
19
20
21
22
23
24
25
26
27
28
29
30
31
32
33
34
35
36
sftpgo resetprovider --force --config-dir /usr/local/var/sftpgo

cat > /tmp/sftpgo-initprovider-data.json << EOF
{
  "users": [
    {
      "id": 1,
      "status": 1,
      "username": "test",
      "password": "test123",
      "home_dir": "${HOME}/Pictures/ftp",
      "uid": 501,
      "gid": 20,
      "permissions": {
        "/": [
          "*"
        ]
      }
    }
  ],
  "folders": [],
  "admins": [
    {
      "id": 1,
      "status": 1,
      "username": "admin",
      "password": "admin123",
      "permissions": [
        "*"
      ]
    }
  ]
}
EOF

sftpgo initprovider --config-dir /usr/local/var/sftpgo --loaddata-from /tmp/sftpgo-initprovider-data.json
Configure SFTPGo:
1
2
3
4
5
6
7
8
9
10
11
12
13
14
15
16
17
18
19
20
21
22
23
24
25
26
27
cat > /usr/local/etc/sftpgo/sftpgo.json << EOF
{
  "ftpd": {
    "bindings": [
      {
        "port": 21
      }
    ]
  },
  "httpd": {
    "bindings": [
      {
        "port": 7999
      }
    ]
  },
  "sftpd": {
    "bindings": [
      {
        "port": 0
      }
    ]
  }
}
EOF

sudo brew services restart sftpgo
Restart SFTPGo:
1
sudo brew services restart sftpgo
You can check the WebAdmin interface at http://127.0.0.1:8080/web/admin/users to see details about the created user.
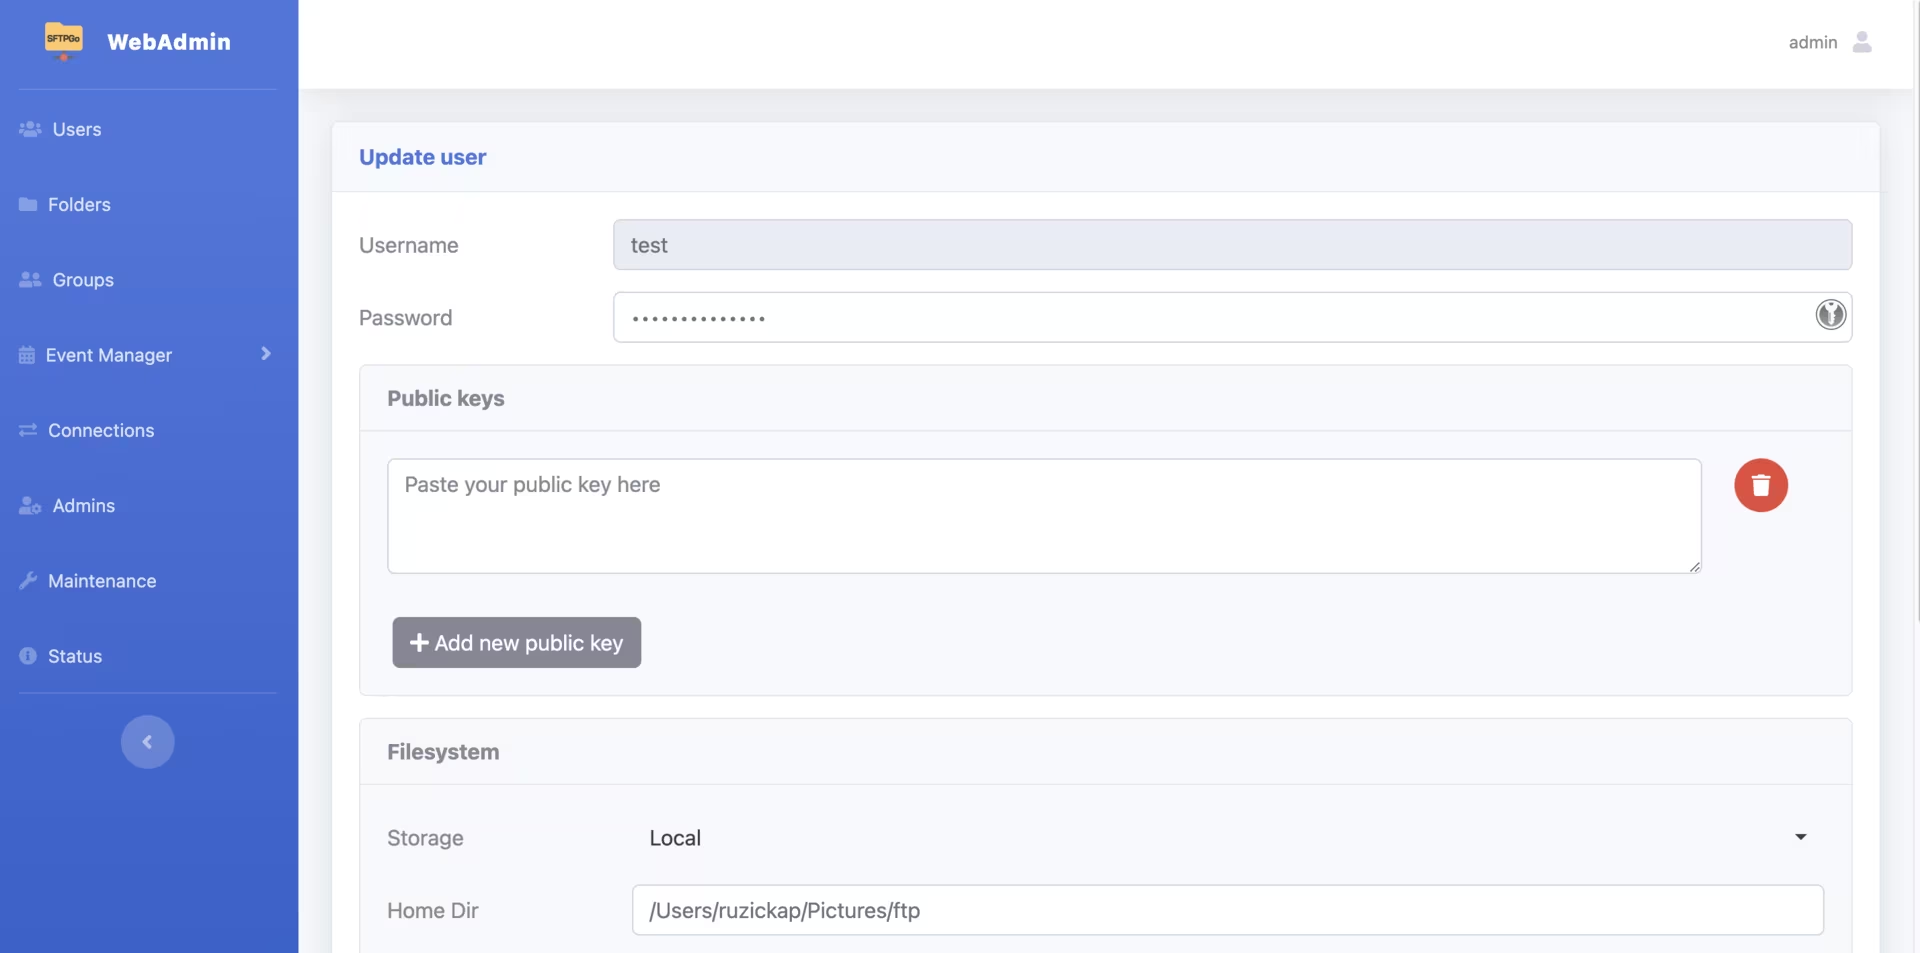 SFTPGo WebAdmin User
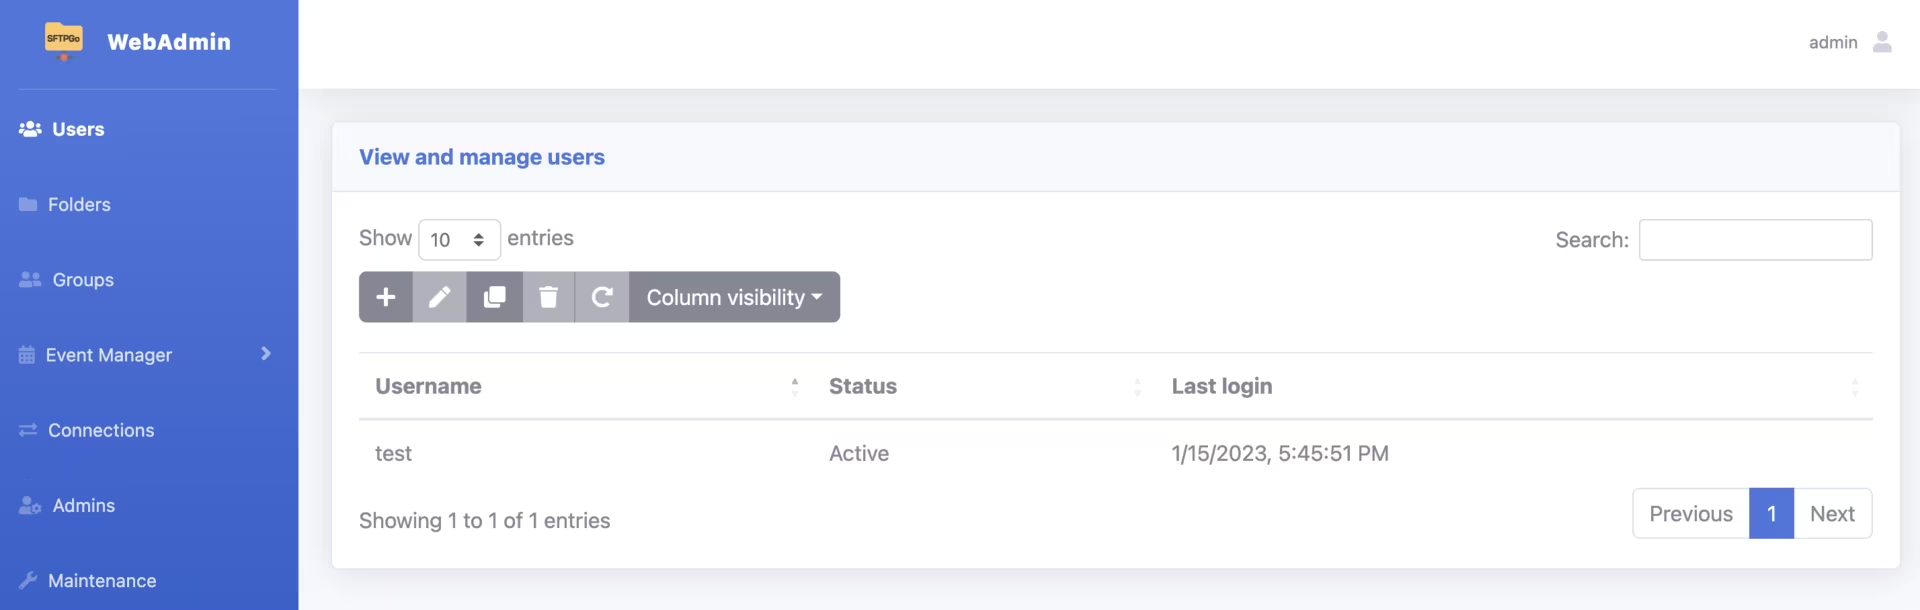 SFTPGo WebAdmin Users
Sony Camera FTP + WiFi settings
Now, you need to configure your Sony camera (Sony A7 IV), connect it to your Wi-Fi network, and set up FTP transfer.
Configure the Wi-Fi connection to your Access Point or wireless router. Alternatively, you can create a Personal Hotspot on your iPhone, as I did:
flowchart LR
    A1[Network] --> A2(Wi-Fi) --> A3(Access Point Set.) --> A4(...your WiFi AP...)
Sony A7 IV WiFi AP Configuration
Ensure your Mac is connected to the same Wi-Fi network as your Sony camera.
Find your Mac’s local IP address by running the
ifconfigcommand in the terminal:1 2 3 4
❯ ifconfig en0 ... inet 172.20.10.4 netmask ... ...
Configure the FTP settings on your camera:
flowchart LR
    A1[Network] --> A2(Transfer/Remote) --> A3(FTP Transfer Func) --> A4(Server Setting) --> A5(Server 1)
      A5 --> B1(Display Name) --> B2(SFTPGo)
      A5 --> C1(Destination Settings) --> C2(Hostname) --> C3(172.20.10.4)
        C1 --> D1(Port) --> D2(21)
      A5 --> E1(User Info Setting) --> E2(User) --> E3(test)
        E1 --> F1(Password) --> F2(test123)
Enable FTP transfer on your camera:
flowchart LR A1[Network] --> A2(Transfer/Remote) --> A3(FTP Transfer Func) --> A4(FTP Function) --> A5(On) B1[Network] --> B2(Transfer/Remote) --> B3(FTP Transfer Func) --> B4(FTP Power Save) --> B5(On)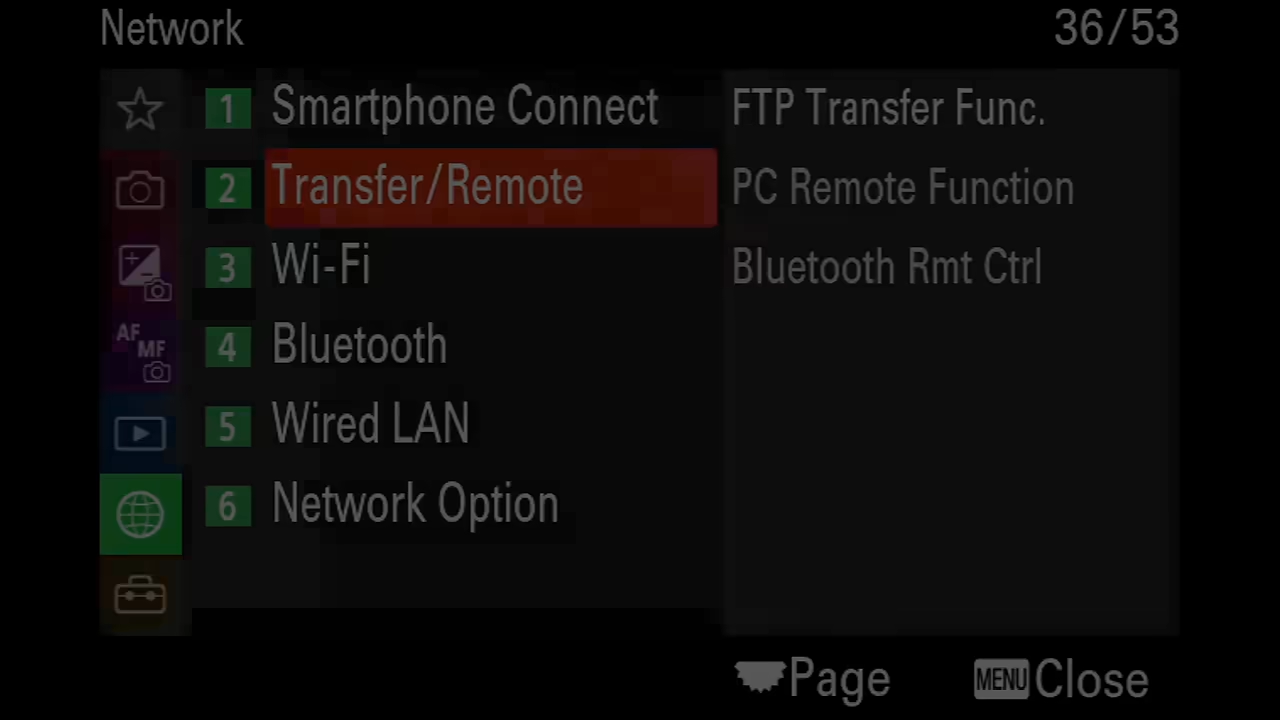 Sony A7 IV FTP Configuration
Initiate the FTP transfer to copy photos from your camera to your Mac:
flowchart LR A1[Network] --> A2(Transfer/Remote) --> A3(FTP Transfer Func) --> A4(FTP Transfer) --> A5(OK)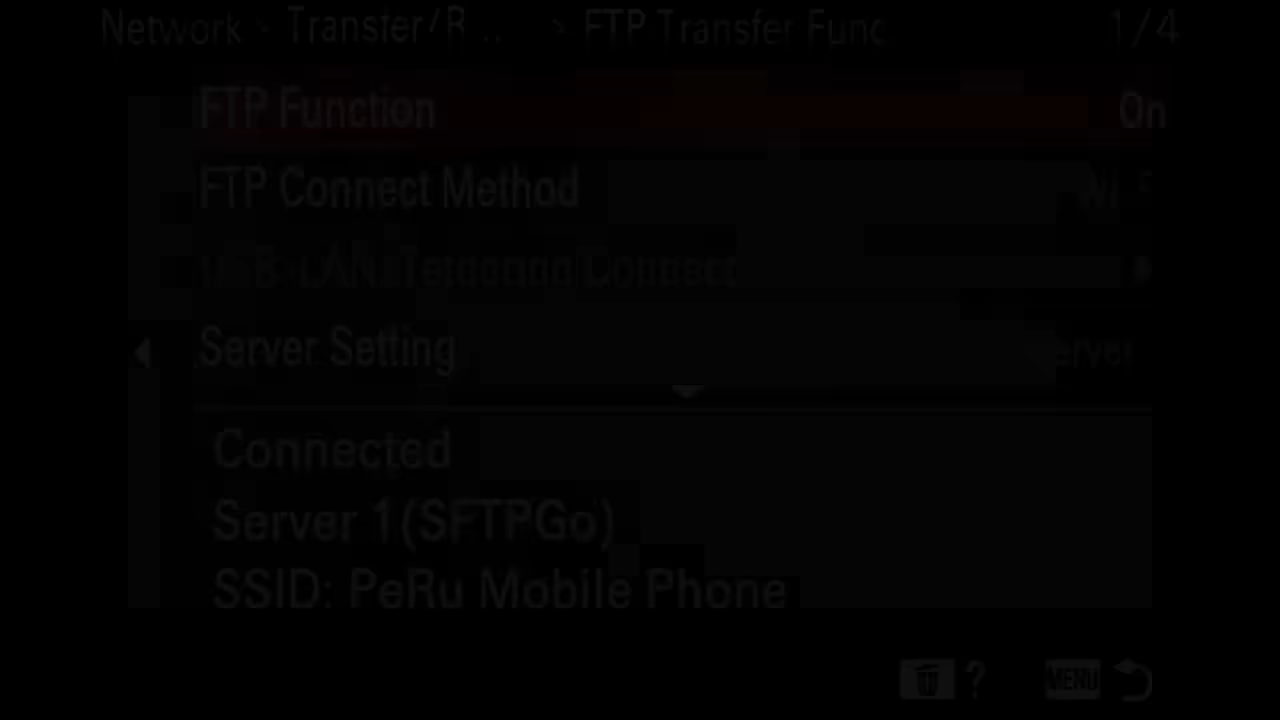 Sony A7 IV FTP Transfer
The camera configuration process, including Wi-Fi setup, FTP settings, and photo transfer, can be viewed in the video Transfer photos wirelessly from Sony Cameras:
Enjoy … 😉